
Quickstart
From your OpenAPI document to a tool working in Claude, step by step. It takes about 15 minutes once you have access.
On this page
This guide uses an example company, Acme, whose API lives at https://api.acme.com/v1. Replace the values with yours.
Tip
Before you start, have at hand: access to your DNS (or to your API server), your OpenAPI or Postman file, and a user of your system you can test with.
1. Sign in to the dashboard
Connect is invite only. Once your access is approved, sign in at connect.grostify.com/app (opens in a new tab). See Access and roles if you do not have access yet.
2. Create the integration
In API and tools, choose New integration and fill in:
| Field | Example | Notes |
|---|---|---|
| Name | Acme | Up to 80 characters. Your users see it when they connect. |
| API base URL | https://api.acme.com/v1 | HTTPS on a public domain. Tool paths are relative to it. |
| Authentication | API key or OAuth | You can change it later. |
Details in Create an integration.
3. Verify your domain
Until the domain is verified, Connect does not send a single request to your API. Pick one method and click Check now:
DNS TXT recordName: _grostify-connect.api.acme.comValue: grostify-connect-verification=<your token>or serve the same value as a file:
https://api.acme.com/.well-known/grostify-connect.txtYour token is on the Domain step. More in Verify your domain.
4. Configure how users sign in
-
OAuth or OpenID Connect: register this callback in your provider, then fill in the endpoints (or use Discover) and save the client secret.
Texthttps://connect.grostify.com/t/acme/oauth/callback -
API key: say where the key goes (for example the
Authorizationheader with the prefixBearer), a path that answers 200 with the user's data (for example/me) and the field with the user's id.
All the fields are in User authentication.
5. Import your API
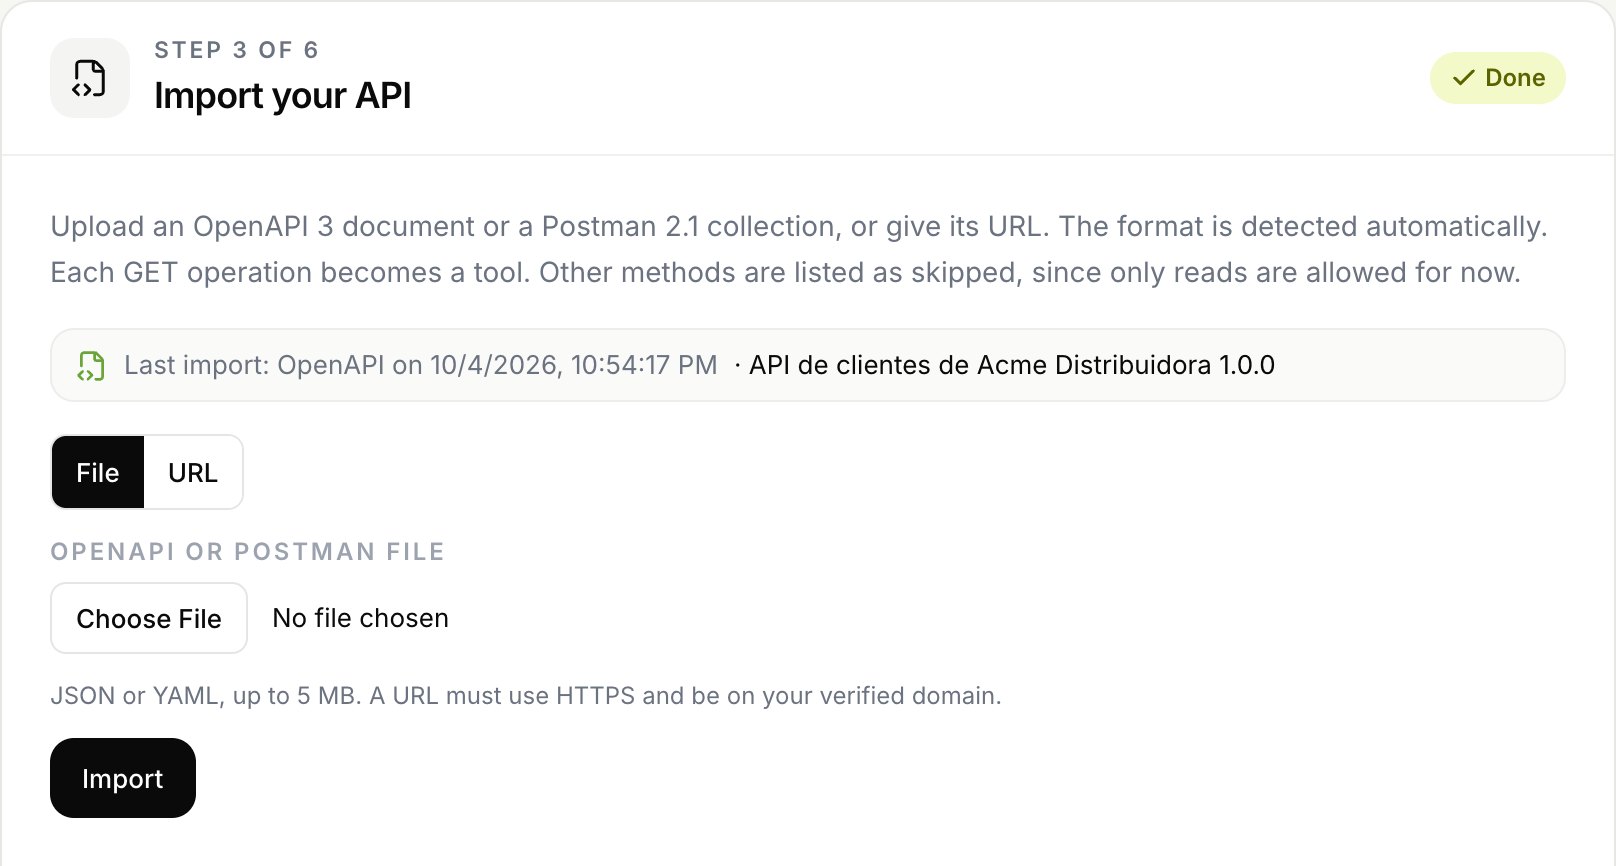
On the Import API step, upload your file (JSON or YAML, up to 5 MB) or paste its URL. Connect reads every operation and creates a tool for each one it can use. See Import your API.
6. Describe, test and enable
- Click Write descriptions with Claude. Claude reads the structure of your API, never its data, and writes when to use each tool. Review the result.
- Save a test credential (a real access token or API key of a test user).
- Open each tool and click Run test. A tool needs a successful test before you can enable it.
- Turn on the channels you want for each tool: Claude, ChatGPT, WhatsApp or Web.
7. Request a review
On the Production step, check that everything is ready and click Request review. Grostify reviews the integration and, once approved, it goes live at its MCP address:
https://connect.grostify.com/t/acme/mcp8. Try it in Claude
In Claude, open Settings, then Connectors, choose Add custom connector and paste the address. Or in Claude Code:
$ claude mcp add --transport http acme https://connect.grostify.com/t/acme/mcpThen type /mcp inside Claude Code to sign in. Ask something your API can answer, like "What are my open orders?". More in Claude and Claude Code.